|
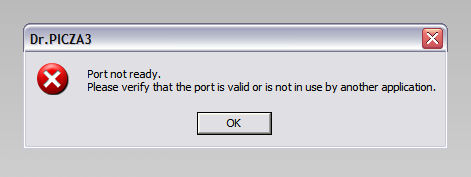
Port Not Ready Error, MDX-15, MDX-20, LPX-250, PIX-4, Pix-30
Here is the procedure to help get the scanner or milling machine to connect when the Port not ready error occurs.
Make sure you have the correct port selected
Look on the back of your computer and see the name of each COM port, make sure you are selecting the correct COM port.
The COM ports are the small 9 pin cable
The LPT ports are the big wide parallel cable
The MDX15/20, LPX-250, Pix-4, Pix-30 ship with the Serial Cable so that is the COM port.
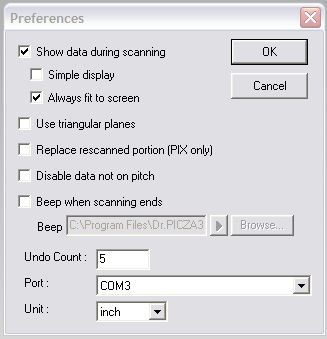
Go to File -> Preferences in the drop menu at the top
Select the correct port
If you are certain that the correct port is selected then there might be a conflict.
We are going to need to adjust the settings to eliminate a conflict
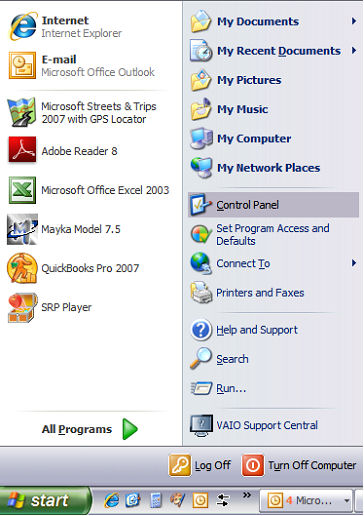
Start buying selecting the start button then select Control Panel
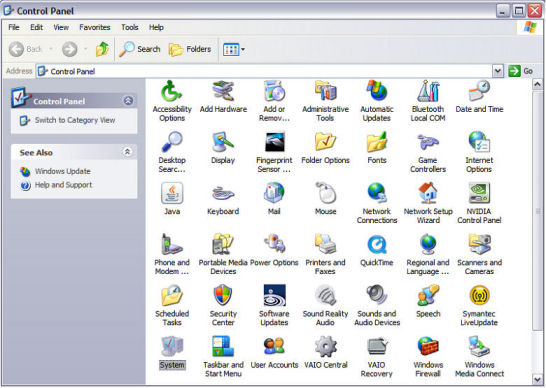
In the control panel we are going to go to the System settings
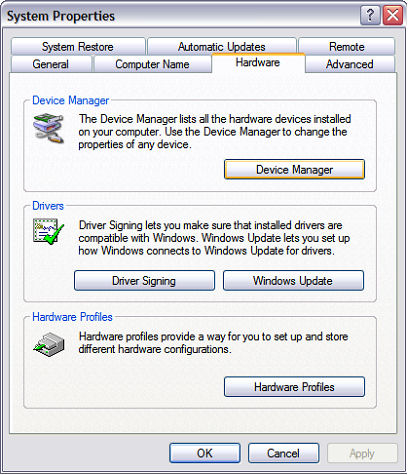
Double Click System
In the System window we are going to go to the Hardware tab and then go into Device Manager
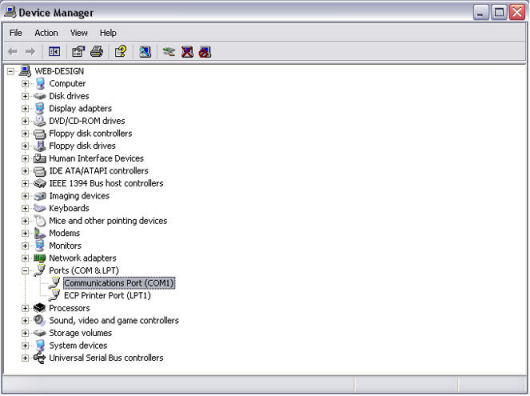
In the Device Manager we are going to select the port that the machine is plugged into.
If you can find the COM port first select the + next to the Ports (COM & LPT)
The COM ports are the small gray 9 pin cable
The LPT ports are the big gray wide parallel cable
The MDX15/20, LPX-250 ship with the Serial Cable so that is the COM port.
Double click the COM port number
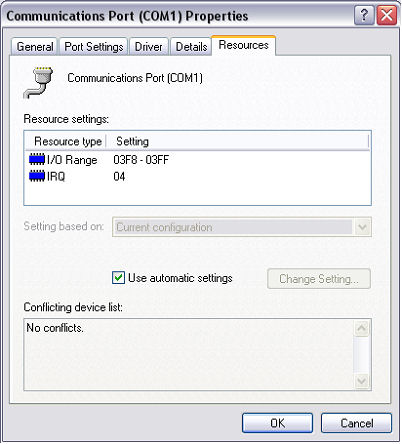
Next we will go to the Resources tab on the COM Port Properties Dialog box
Look at the bottom you might be getting a conflict if not then it is a resource setting either way we are going to turn off the Use automatic settings check box so remove the check mark by selecting it.
When unselected you now have the ability to select the Settings based on drop down menu
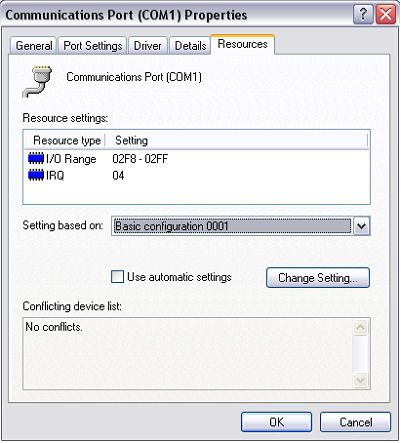
Change the settings to a different configuration, make sure that the
I/O Range
Settings change from what they are to something different.
See here how the I/O range has changed
Now select the OK button
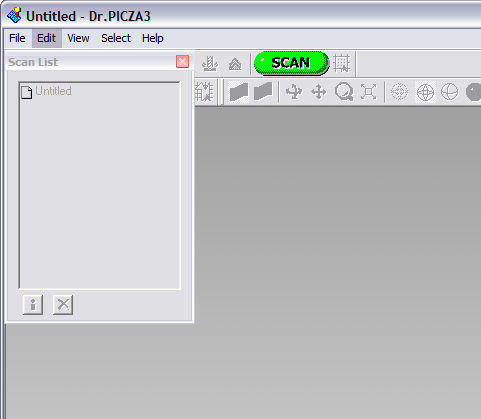
Now that this is changed select the SCAN button again in Dr Picza or Dr Picza 3
The scanning area box should now come up.
If this does not work maybe you have selected the wrong COM port.
Look on the back of your computer and see the name of each COM port, make sure you are selecting the correct COM port.
You can also try to change to even another configuration in the Settings base on drop down menu,
I had a computer that required me to change this setting every time I wanted to use the scanner.
|